


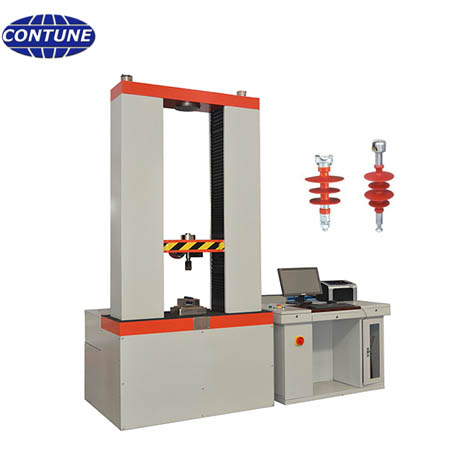
Fixtures are not minor accessories in composite insulator testing. The right fixture controls alignment, load transfer, safety and repeatability, while a poor fixture can create misleading failures.
When planning an insulator testing laboratory, buyers should discuss fixture design together with the machine, sample drawings and required standards.
Start from the end fitting
Composite insulators may use ball-socket, tongue-clevis, eye, flange or customized fittings.
Fixture interfaces must match the actual fitting dimensions and loading surface, not only the nominal product name.
Control alignment
Misalignment can introduce bending stress during tensile or compression tests.
Good fixtures keep the sample centered and reduce side loading, especially for long rod products.
Match load direction
Tensile, cantilever, torsion, bending and combined tests require different fixture structures.
A fixture designed for one test method should not be reused blindly for another load direction.
Include safety and repeatability
High-load testing can release energy if the sample fails, so fixtures must be strong, locked and protected by a suitable safety zone.
Repeatability improves when fixture setup is simple, documented and easy for operators to inspect.
Buyer checklist
- Fitting drawing
- Load direction
- Maximum load
- Sample length and weight
- Alignment method
- Operator safety protection
FAQ
Should fixtures be included in the machine quotation?
Yes. Buyers should confirm which fixtures are included and which are optional or customized.
Can one fixture cover all insulator products?
Usually no. Similar products may share fixture families, but different fittings and load directions often need different fixture sets.
Need a machine recommendation? Share your sample drawings, test standard, load or voltage range and available laboratory space through the Contune contact page.